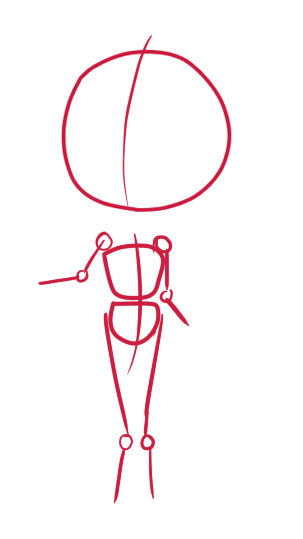
1. Start by sketching shapes. I highly recommend not skipping this step because it's a guide to how your drawing will look.
A basic circle for the head,(don't worry it doesn't have to be perfect) with a line going though curving the way she will be looking.
For the chest and hip I made a trapezoid shape, one with the larger base facing up for the shoulders and another one (a little wonky looking but meh, let's call it a gumdrop) connected for the hips. From the edge of the hip trapzoid/gumdrop shape I drew two lines down almost touching and meeting at two circles, which then from there are two smaller lines that are half the length of the one you just drew.
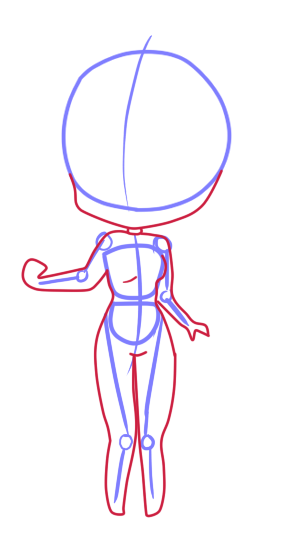
2. Now you begin to draw out the body outline. From the "sides" of head-circle I began drawing the shape of the face. The lines here are not to be too curved or too pointy, they're her cheeks. Below that circle and connecting the head and torso is the neck which meets right around the point of the chin.
Using the rest of my lines as a guide I began drawing around them how I wanted my chibi's body look. I like my chibis looking curvy and cutesy so I tend to emphasize on the hips and thighs a bit.
One last thing, don't worry about detailing the hands yet, get a basic shape and outline of where the hand would be placed and the size. Make sure your hands aren't too small or large.
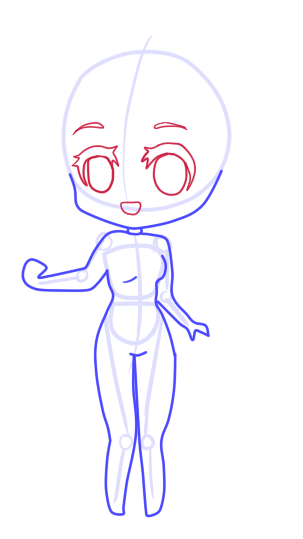
3. Start drawing your face details such as eyes and mouth, maybe even a nose if you want, it's up to you.
My eyes are usually started off by drawing the eyelid or eyelash but I suggest starting with 2 ovals and then drawing the eyelids. If you need more help on eyes please visit here: http://littlenubnubs.tumblr.com/post/5184950585/incase-full-size-doesnt-show-up-which-i-really
Don't forget her eyebrows!
As for the mouth I drew a straight line and connected a half circle below it.

4. This step is where I draw the hair. I use lots of waves for her hair to create a wispy and soft curl look.
The top of my chibi's head/hair is NOT at the top of the original circle we drew in step 1, it's a bit above it. For this you have to judge how you'd like it though, I like my chibis with big heads.
The base of the hairline at the forehead should not be drawn low but not too high up either. Half an inch or so above the tip of the eyelids/lashes. Her hair is up in a ponytail so keep that in mind but pieces of her hair on the sides are loose, almost like side bangs that were curled. Give them shape. :)
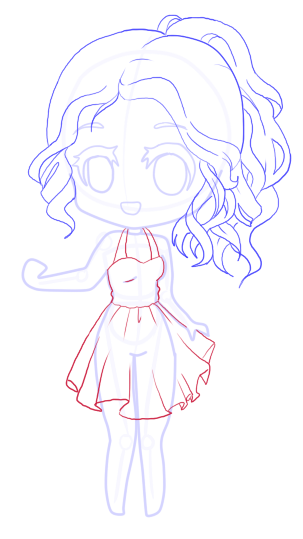
5. Draw her dress. The torso of the dress should be close to her body from the wasit to right at her bust-area. I drew in some wrinkles there since she's turned to the side a tad but they're very subtle. The rest of her dress flows out and as you can see is held in one hand.
Pay attention to the outline of the dress and ignore the wrinkles that define the ruffles so you have an idea of how draw it. It has a rise and fall effect. (I should make a tutorial on ruffles, lace, etc.)
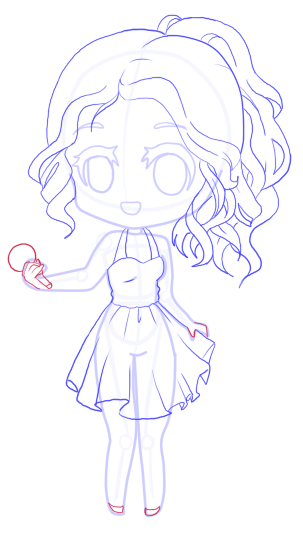
6. In this step I drew out her hands, her shoes, and the microphone. Remember that basic shape for the hand we drew out earlier? Use that as your guide, when drawing the actual hand and fingers try to have within that shape.
In this drawing 3 of her fingers are gripping the mic, plus her thumb, the pinky is slighted lifted out. When drawing fingers they should not be pointy and they should be curvy like sausages either.
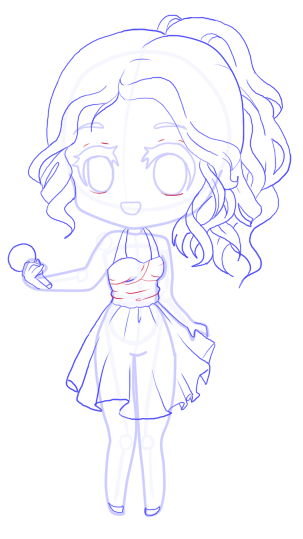
7. This step is just adding details. Above her eyelashes I drew two little lines that shows the eyelid. I also drew in lower lids/lash line on the bottom of her eye. I decided to add in some wrinkles to her dress based on the reference I saw but it's completely optional to you.
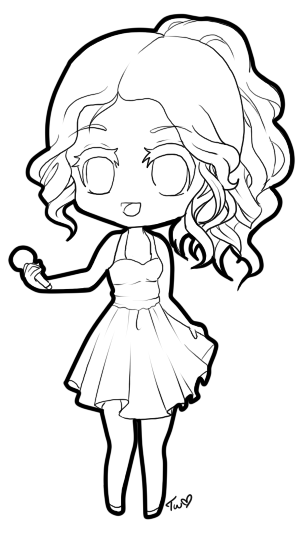
8. This is the final step where you erase all your guidelines, make your lines neat, and prepare to color.
No comments:
Post a Comment